Making a Deaf Doorbell
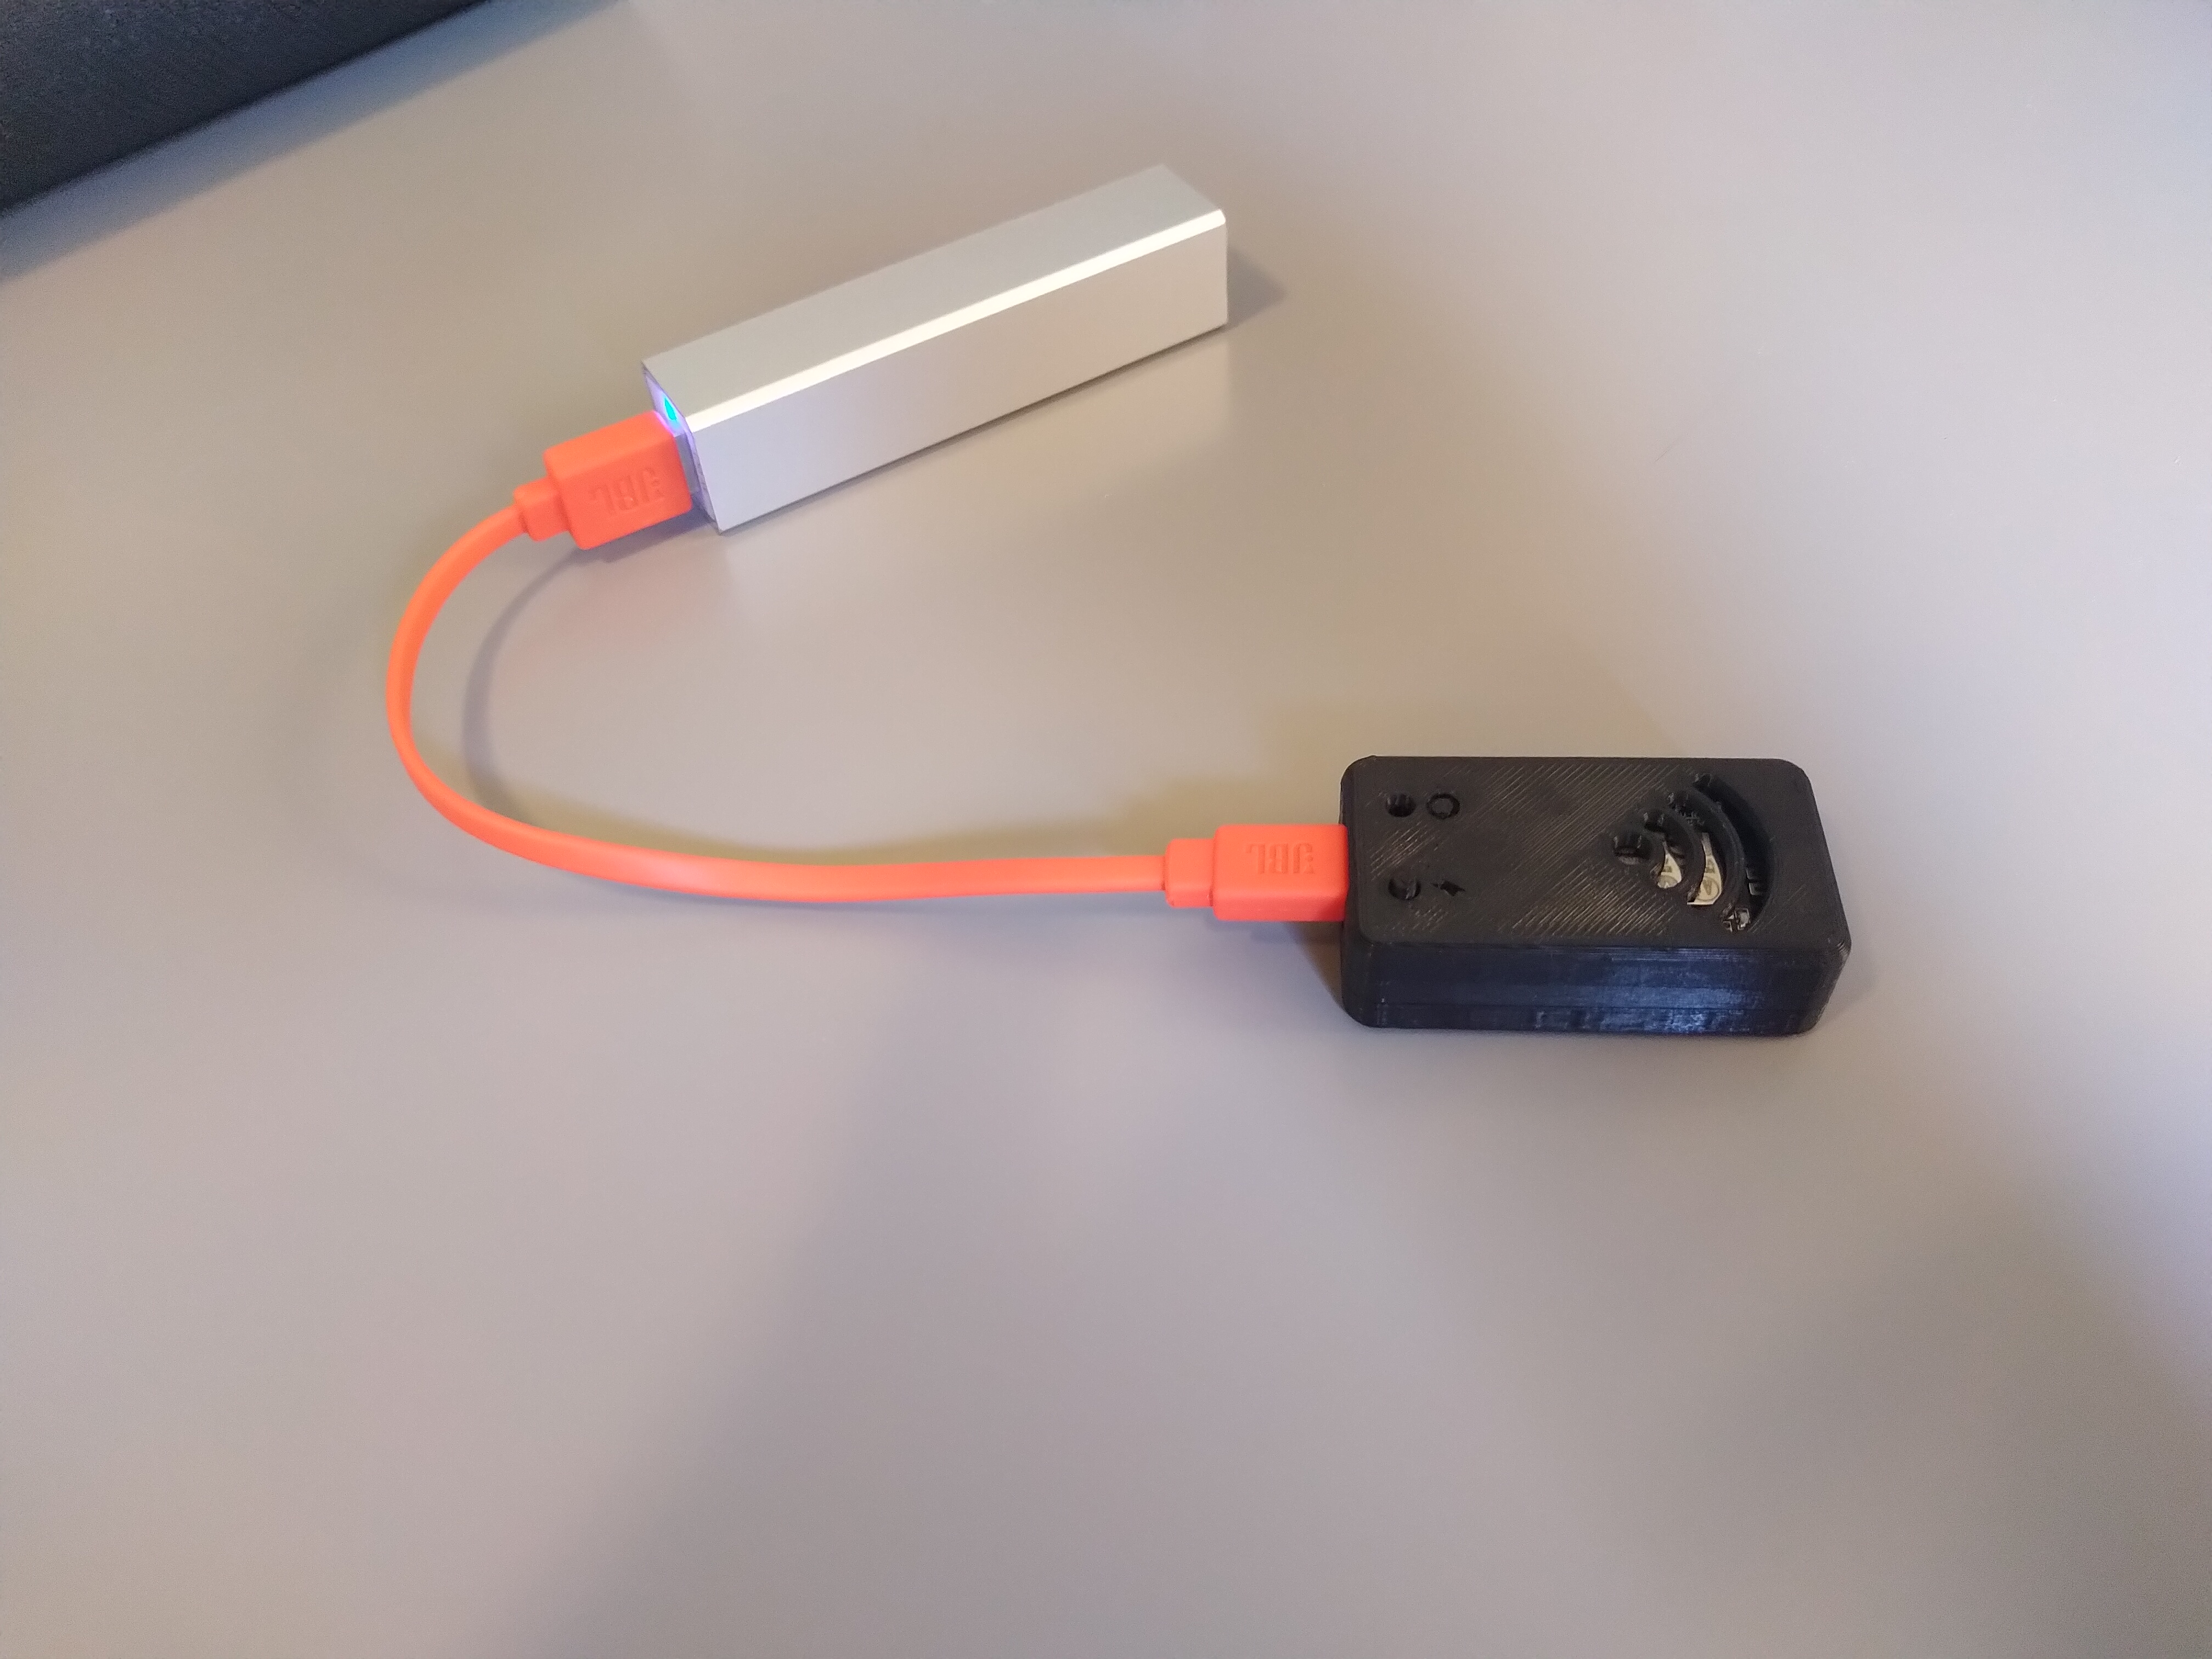
Finished Product:

What you will need:
- ESP8266 MicroController
- Raspberry Pi (I have a 3B+)
- TP-Link Smart Plug(s)
What?
I have seen “deaf doorbells” before when visiting some of our deaf friends. Instead of just playing a chime, they also blink a light or two in the house to give them a visual cue that they need to answer the door. This would be a fun challenge!
How?

We live in a relatively old apartment on BYU campus, so there’s no way I’m tapping into the wiring of our place. Conveniently, we received two TP-Link HS100 Smart Plugs for Christmas. I found an open source TP-Link Python library that made blinking two lights connected to the smart plugs pretty easy.
Next, I had to figure out what to use as the doorbell. An ESP8266 works great, because it can be programmed like an Arduino, is small, and has built-in WiFi. I had it so the FLASH button will trigger the blinking.
This was where I came to a wall. If the light blinking code has to be in Python, and the ESP8266 is programmed in C++, how am I going to get those to work together? I looked into running Python on Arduino, but ultimately came to the conclusion that it’s sketchy at best. Then, I remembered that I have a Raspberry Pi connected to my network that acts as my DNS gateway and blocks ads using PiHole (I would highly recommend setting one up!). Huzzah! So, I programmed a simple Flask HTTP server to run on the Pi on startup. This server simply waits for a GET request from the ESP8266, and then runs the blinking lights code.
The last step was housing the ESP8266 in something cool, so I 3D printed a case for it on campus using this file!
Block Diagram:
Dependencies
TP-Link Smart Plug Python Library
Flask (for the Pi server)
